

Is your toilet making a constant hissing sound? Or maybe you see water rippling in the bowl long after you flush. That sound is the sound of money going down the drain! Fixing a toilet tank might seem scary, but it is actually a very simple job. You do not need to be a professional plumber to handle a Reparo Caixa Acoplada. Most of the time, the problem is just a tiny piece of rubber or a loose chain.
In this guide, I will show you exactly how to inspect your tank and fix the most common issues. We will talk about flappers, fill valves, and the buttons that make the magic happen. By the time you finish reading, you will feel like a bathroom expert. You can save water, lower your bills, and finally enjoy some peace and quiet in your home. Let’s dive into the tank and get started!
Common Toilet Problems and Solutions
| Problem | Likely Cause | Quick Fix |
| Water running constantly | Damaged flapper or high float | Replace flapper or adjust float arm |
| Weak flush | Low water level in tank | Adjust fill valve height |
| Water leaking on floor | Loose bolts or worn gasket | Tighten bolts or replace “Bolsa” gasket |
| Button gets stuck | Dirt buildup or tight cable | Clean button or loosen the nut |
| Hissing noise | Clogged fill valve | Clean or replace the intake assembly |
Understanding Your Dual Flush System
The first step in any reparo caixa acoplada is knowing what you are looking at inside the tank. Most modern toilets use a dual flush system. This means there are two buttons: one for a small flush and one for a big flush. Inside, you will see a tall tower in the middle and a valve on the side where the water comes in.
It looks complicated, but it is basically just a giant LEGO set for adults. The side valve controls how much water enters, and the middle tower controls how much water leaves. If the water never stops entering, your fill valve is the culprit. If the water keeps leaking out into the bowl, your flush tower or flapper is the part that needs help. Knowing this difference saves you a lot of time.
Step 1: Shutting Off the Water Supply
Before you touch anything, you must turn off the water. Look for a small silver handle on the wall behind your toilet. Turn it to the right until it stops. This prevents a fountain from starting in your bathroom while you work! Once the water is off, flush the toilet to empty the tank.
Emptying the tank makes it much easier to see the parts and keep your hands dry. I always keep a small sponge nearby to soak up the last bit of water at the bottom. This is a crucial part of a clean reparo caixa acoplada. If you don’t turn off the water, you might end up with a very wet floor. Taking thirty seconds to do this ensures your DIY project stays stress-free and tidy.
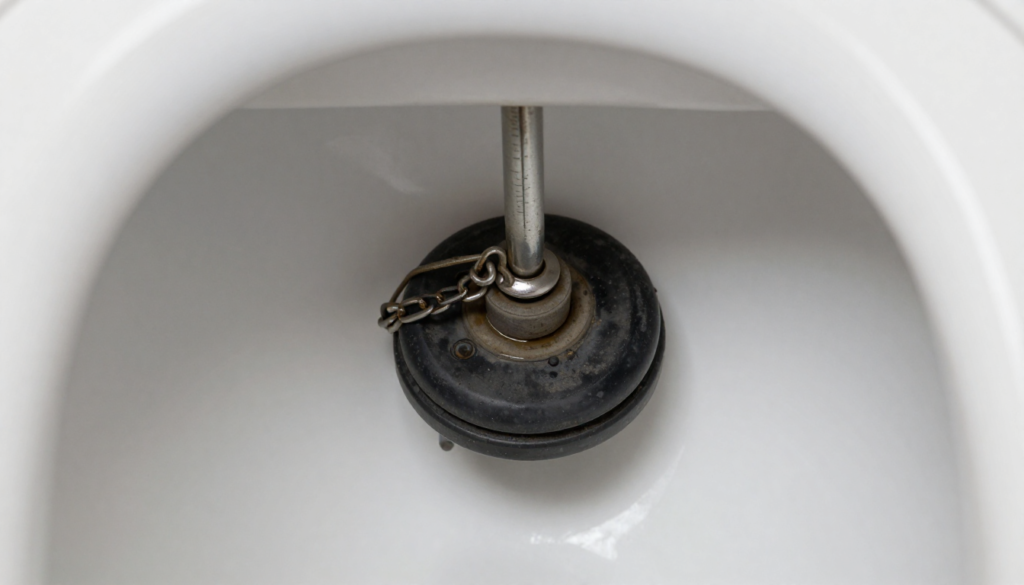
Inspecting the Flapper for Wear and Tear
The flapper is the rubber seal at the bottom of the tank. Over time, the chemicals in our water make the rubber soft or slimy. When this happens, it cannot create a tight seal anymore. This is the number one reason people need a reparo caixa acoplada. If you touch the flapper and black ink gets on your fingers, it is definitely time for a new one.
To fix it, just unhook the old rubber piece from the pegs and snap a new one into place. Make sure the chain has just a little bit of slack. If the chain is too tight, it will pull the flapper up constantly. If it is too loose, it might get caught under the seal. A perfect flapper setup means a silent toilet and a lower water bill for your household.
Adjusting the Fill Valve Height
Sometimes, your toilet runs because the water level is set too high. If the water goes into the “overflow tube” (that open pipe in the middle), the fill valve will never turn off. You can fix this without buying any new parts! Most valves have a plastic screw or a clip on the side. This is a very common part of a reparo caixa acoplada.
Turn the adjustment screw to lower the float. The water should stop about an inch below the top of the overflow tube. I remember helping a friend who thought they needed a whole new toilet. It turned out the float was just snagged on the wall of the tank! A simple twist of a screwdriver saved them over a hundred dollars. Always check the water level first before you head to the hardware store.
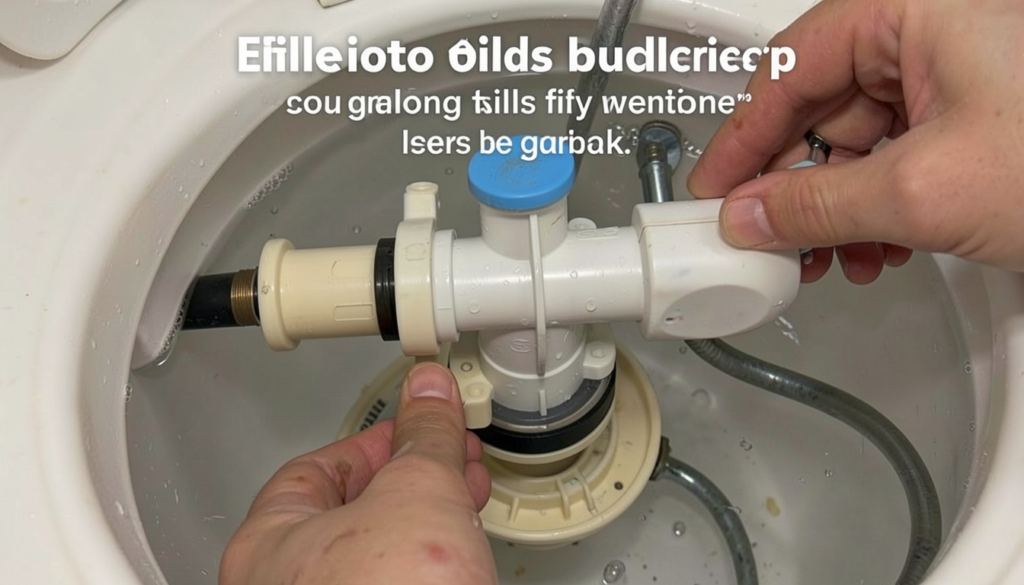
Cleaning the Intake Valve Filter
If your tank takes a very long time to fill up, there might be sand or debris in the filter. Small rocks can get into the pipes during city roadwork. These rocks get stuck in the tiny screen inside your toilet’s fill valve. To perform this reparo caixa acoplada, you need to remove the water hose from the bottom of the tank.
Check the small plastic screen inside the valve. Use an old toothbrush to gently scrub away any dirt or lime scale. Once the path is clear, the water will flow fast and strong again. This simple cleaning can make an old toilet feel brand new. It is amazing how much of a difference a clean filter makes. You will notice the tank fills up much faster and much more quietly than before.
Replacing the Mechanism Gaskets
If you see water on the floor, the leak is likely coming from the large rubber gasket between the tank and the bowl. This is called the “Bolsa” in many places. Over many years, this rubber gets brittle and cracks. Doing a reparo caixa acoplada for a floor leak requires taking the tank off the wall.
It sounds like a big job, but it only involves two bolts. Once the tank is off, you can slide the old gasket off and put a fresh, squishy one on. Make sure you tighten the bolts evenly on both sides. If you tighten one side too much, the tank might sit crooked or even crack. Slow and steady wins the race when you are working with ceramic and rubber seals.
Fixing a Stuck Flush Button
Does your toilet keep running because the button stays pushed down? This usually happens because the button is dirty or the internal cable is twisted. You can perform a reparo caixa acoplada on the button in just a few minutes. Unscrew the large nut under the lid that holds the button in place and pull the whole button out.
Give it a good soak in warm soapy water to get rid of any sticky residue. While it is out, make sure the spring inside is still bouncy. If the button feels “crunchy,” a tiny drop of silicone lubricant can help it slide smoothly again. Put it back together and test it a few times. A smooth button means you won’t have to jiggle the handle ever again!
Choosing the Right Replacement Parts
When you go to the store for your reparo caixa acoplada parts, try to buy a “Universal” kit. Brands like Fluidmaster or Blukit make parts that fit almost every toilet. Look for kits that say they are “Long Life” because they resist chlorine better. I always suggest buying a kit that includes both the fill valve and the flush tower.
Even if only one part is broken, the other parts are likely the same age and might fail soon too. Replacing everything at once is a “best practice” that saves you from opening the tank again in six months. It is like giving your toilet a complete tune-up. High-quality parts might cost five dollars more, but they will last much longer and give you better peace of mind.
Testing Your Repair for Hidden Leaks
Once you finish your reparo caixa acoplada, you need to make sure it actually worked! There is a “secret” trick plumbers use: the food coloring test. Drop five drops of blue or green food coloring into the tank water. Do not flush! Wait about twenty minutes and look at the water in the toilet bowl.
If the water in the bowl stays clear, your seal is perfect. If the bowl water turns blue, you still have a tiny leak at the flapper. This test is great because it catches leaks that are too quiet to hear. It is the final step to ensuring your work is 10/10. Once the test passes, you can be confident that your toilet is efficient and your repair was a total success.
Conclusion
Completing a reparo caixa acoplada is a great way to start your DIY journey. You have learned how to identify parts, stop leaks, and save money. A running toilet can waste hundreds of gallons of water every month, so your hard work is helping the planet too! Remember to check your tank parts once a year to make sure everything still looks clean and flexible.
If you ever run into a problem you can’t fix, don’t be afraid to ask for help. But for most common issues, you now have the tools and the knowledge to handle it yourself. Go ahead and give yourself a pat on the back. You saved a lot of money today, and you kept your home in great shape!
Frequently Asked Questions
1. How much does a “reparo caixa acoplada” usually cost?
If you do it yourself, a basic kit usually costs between $15 and $30. Hiring a plumber might cost $100 or more just for the visit!
2. Why is my toilet making a whistling sound after I flush?
A whistling sound usually means the fill valve is vibrating. This happens when the internal seal is worn out or there is a small blockage.
3. Can I use bleach tablets in my toilet tank?
It is better to avoid them. The strong chemicals can eat away at the rubber parts, making you need a reparo caixa acoplada much sooner than normal.
4. How long do toilet tank parts typically last?
Most parts last about 5 to 7 years. If you have “hard water” with lots of minerals, you might need to replace them every 3 or 4 years.
5. What tools do I need to fix my toilet?
Most of the time, you only need your hands! For some parts, an adjustable wrench or a screwdriver will help you get things tight and secure.
6. Is it normal for the tank to have condensation on the outside?
Yes, this happens when the water inside is cold and the bathroom air is warm and humid. It is not usually a leak, just “sweating.”